|
|
|
 |

Introduction
QCANObserver is thought as simple CAN Sniffer. Below you can see
the main-window. Inside you can see the captured CAN frames. When new
messages arrive, this view is updated quickly. The headers on the
columns declare the meaning of the data. The column Time is the time of
arrival. By the here used PCAN Hardware there is no hardware-made
Timestamp available, so this timestamp was taken quickly after arrival
by gettimeofday(). In the most cases this fits the needs.

For configuration select Control -> Device. Here you have to
select the interface for your hardware. This is first the right so-file
(Linux) or a dll (Windows). On Linux you have to give the devicepath
additionally if the standard path does not fit.
You have also to select a baudrate in it. In the picture below you can
see a cryptic hex number. At the moment this is a initalisation-value
for a register in the hardware. But further development will lead to
automatic calculation.

For capturing now the items Start/Stop in the Control menu are available.
Database
For viewing big amounts of data it is recommended to use a database. In
this database are signals defined. One Signal belongs to specific data
of a specific CAN frame (ID). This way you can choose: I want to see
only this signal and nothing else.
A signal consist of several things:
-value
-unit
-name
-some other calculation stuff (see below)
But the database can more. It can apply a multiplication and remove an offset from this data before viewing.
For loading a database, go File -> database. Select a xml database.
Those defined signals are now available in the ObserverDialog and the
GraphicWindow. So lets have a look at the xml database:
<ID Id="22">
<Item0>
<interpret EventItem="true" Constrain="0xf0"
ConstrainMask="10000000" Multiplier="1.0" Name="SomeName"
Datamask="00000000" Offset="0" Unit="none">
</interpret>
</Item0>
<Item1>
<interpret EventItem="true" Constrain="0xf2"
ConstrainMask="10000000" Multiplier="1.0" Name="SomeName"
Offset="0" Datamask="01200000" Unit="Ver.">
</interpret>
</Item1>
</ID>
Within the Tag ID you can define all signals that belong to this ID. In sub-tag ItemX follows the signal definition.
Masks:
Inside a signaldefinition can be two masks.
The usage and meaning of this masks is as follows.
A mask consists of eight digits. The digits have to be in the range
from 0 to 8. This eight digits correspond to the databytes in the eight
byte of a standard CAN frame. If the corresponding digit is zero, then
this byte does not belong to the signal and is masked out. The numbers
from 1 to 8 describe how to mount the value of the signal. 1 means. the
corresponding byte is the LSB of the value. The byte corresponding to 2
is the first byte above the LSB. And so on.
EventItem:
If this attribute is true the signal is only available upon a special
event. This event ariases only from the data in the CAN frame.
Constrain:
The event araises up on constrain - data equivalence. Constrain defines
this data. If in Constrain is only a single bit set, the event araises
when the corresponding bit in the data is set.
Otherwise the equivalence is checked for all bits.
The value to compare against is calculated from the ConstrainMask (see section Masks)
Multiplier:
a double value. Is applied to the value after assambling from the mask.
Offset:
a doubl value. Is applied to the value after multiplication.
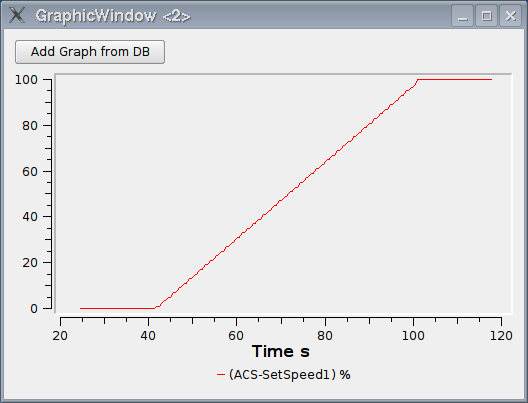
Graphic Display
In the GraphicWindow those defined Signals can be displayd.
Select "Add Graph from DB" to select the signal and assign a color to
it. You can also open more instances of this window with different
signals.

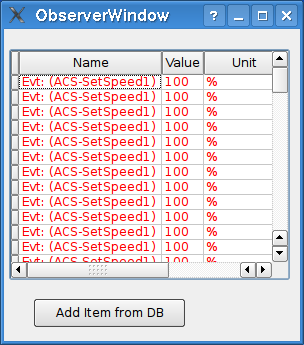
ObserverWindow
Similar to the GtaphicWindow you can select signals from the database.
If eventItem is displayed it gets the prefix Evt:. You can also open
more than one instance of this window.

|
 |